My Favorite Roasted Red Pepper Spread (Romesco)

My mom started making this sauce a few years back, and I love it.  It’s great in sandwiches, with bread, or on roasted meats.  I even eat it plain…

Romesco

There are a few tricks that make this recipe a lot easier and less time consuming to make, and it’s absolutely worth giving the sauce a try.

Ingredients:

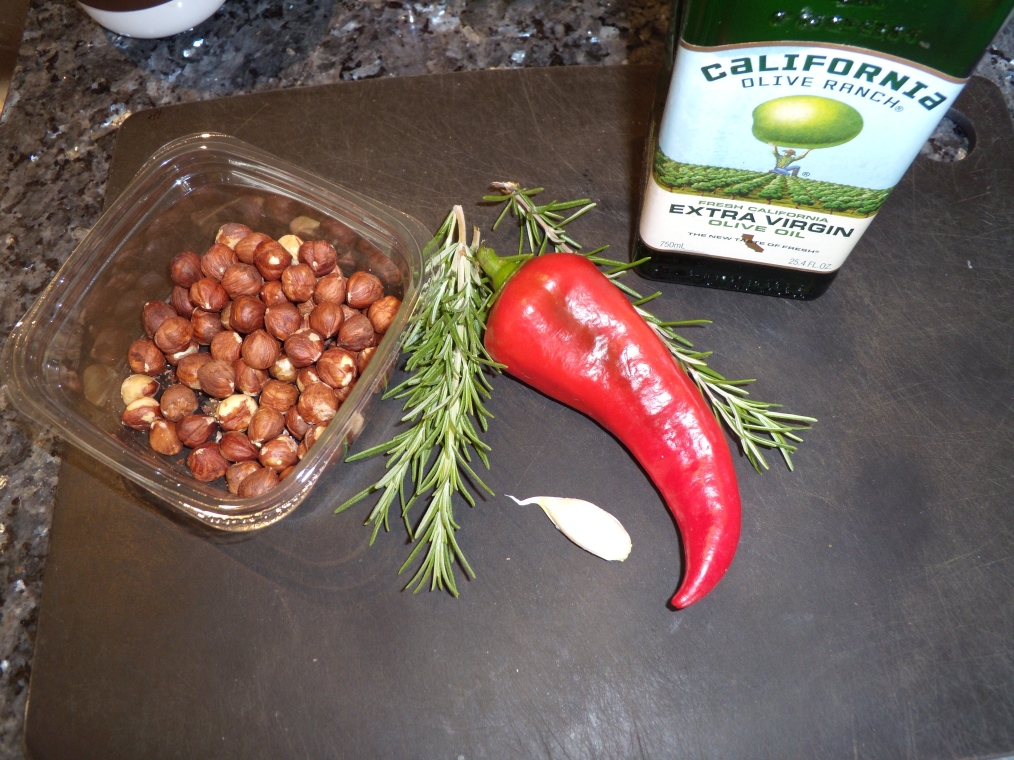
  • 2 red peppers – roasted and skinned
  • 1/4 cup hazelnuts – toasted and skinned
  • 1 tablespoon coarsely chopped rosemary 
  • 2 cloves garlic – peeled
  • 1 teaspoon sugar
  • 1 teaspoon salt
  • 2 tablespoons sherry vinegar (or red wine vinegar, which is what we usually use)
  • 1/2 cup extra virgin olive oil

Image


Directions:

1.  Using a small, sharp knife, cut around the stem on each pepper and then pull the stem to remove it and seeds. 

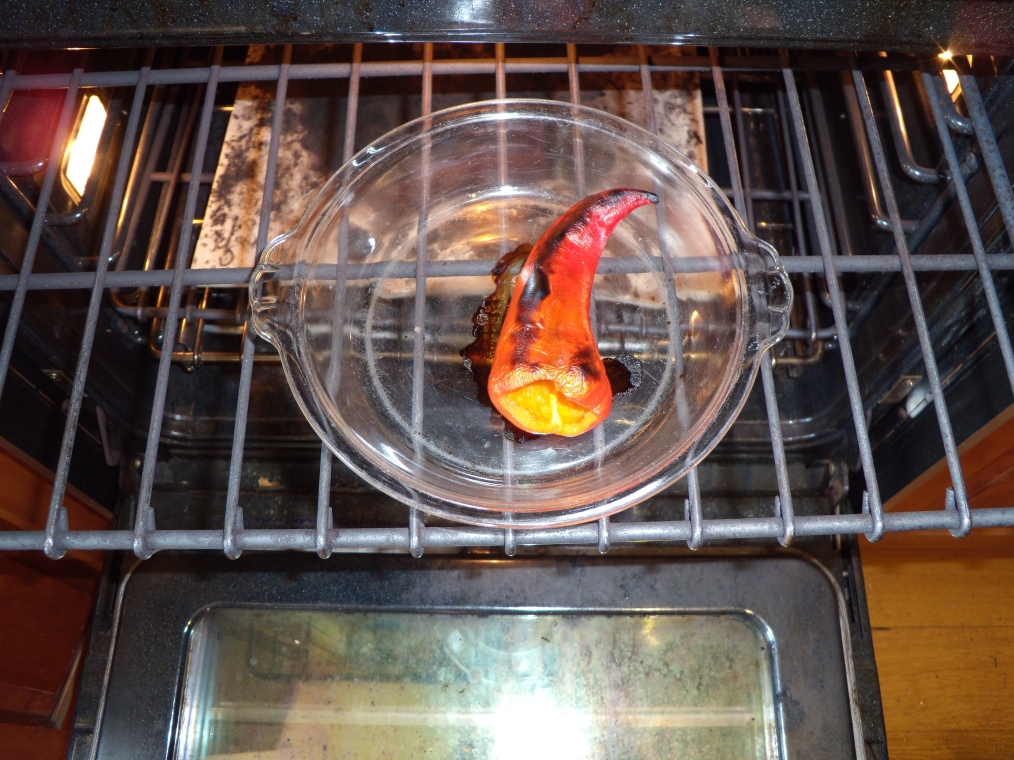
2.  Set your oven to broil and place peppers on a cookie sheet or in baking dish on the top rack, as close to the burner as possible. 

3.  Allow the peppers to blacken on one side and then flip.  Continue to cook and flip until all sides are black. 

Image

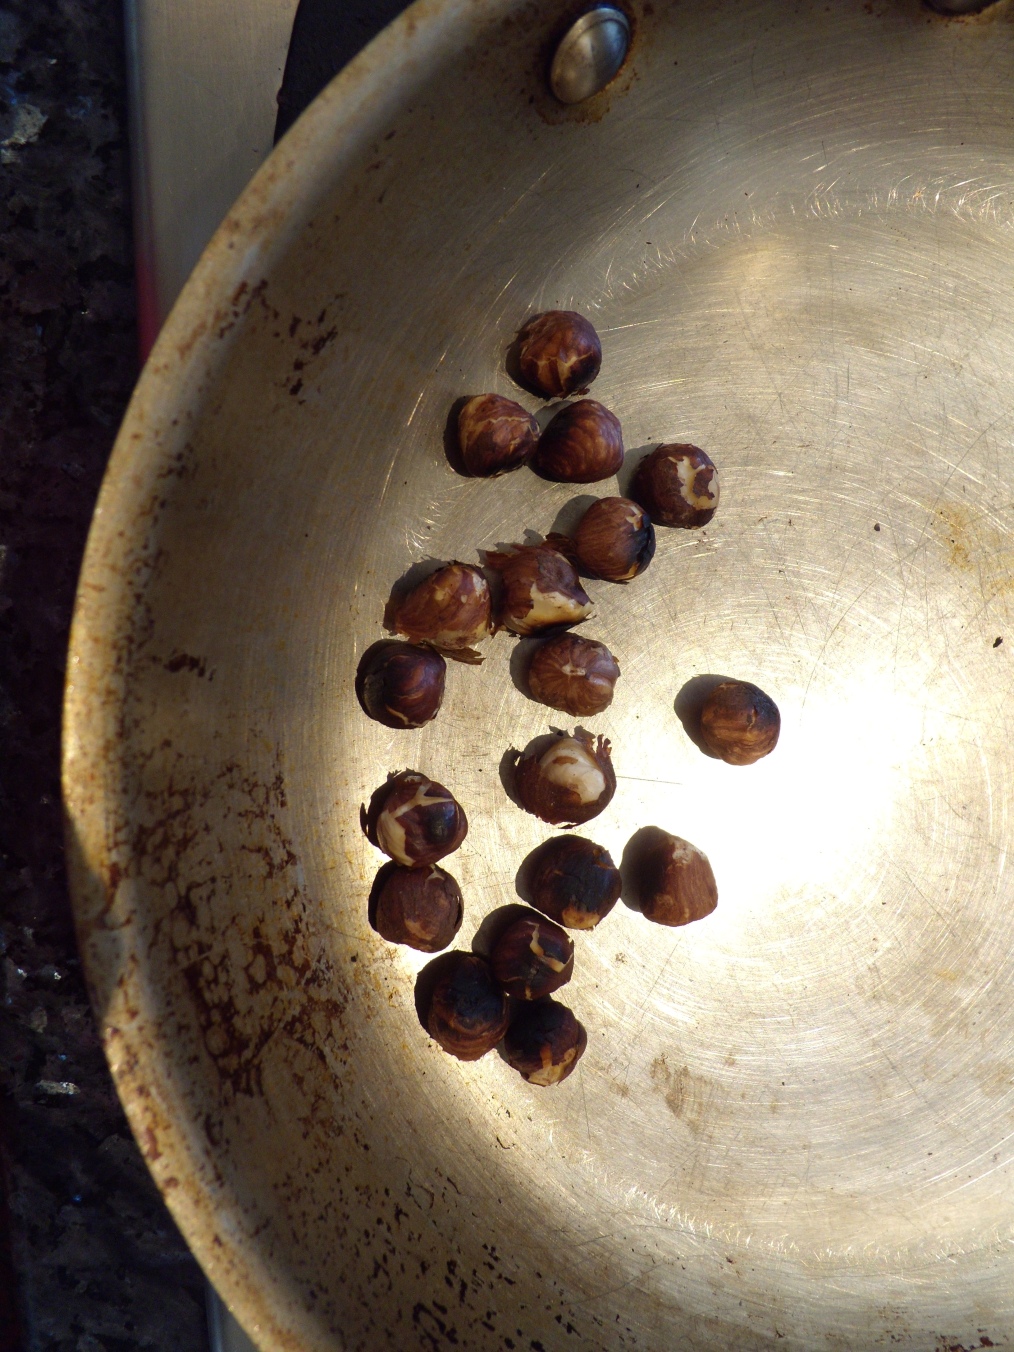
4.  As the peppers roast, measure out the 1/4 cup hazelnuts into a sauté pan over high heat.  As the hazelnuts begin to toast, give the pan a few shakes to roll them around.  When they are starting to blacken and the skins appear to be loosening, turn of the heat and allow the hazelnuts to cool. 

Image

5.  When the peppers are somewhat blackened on all sides, remove them from the oven, place a bowl over them, and allow them to cool.  Keeping the peppers covered holds in the moisture so that the skins may be easily removed. 

Image

6.  When the peppers are cool, remove as much of the skin as possible, as well as any stray seeds, and place in a blender.  Do the same with the hazelnuts.  I simply rub them between my thumb and forefinger.  Don’t worry if you can’t remove all the skin, a little bit won’t hurt.     

7.  Add the garlic, chopped rosemary, sugar, salt, and vinegar.  Blend the mixture until the hazelnuts and peppers are broken up.  

8.  Add the olive oil and blend until you are satisfied with the texture.  Taste and season with more salt if needed. 

9.  Enjoy! 

My Mother’s Special Corn Fritters

Image


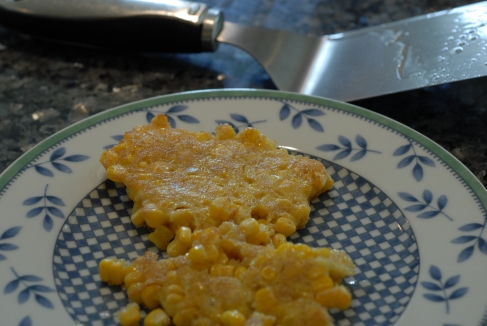
This is a great recipe for when you are tired of eating corn on the cob or you have some extra corn that is getting too old.  These fritters are one of my favorite summer foods and a weekend breakfast treat that everyone adores.  I love eating mine with molasses while my siblings prefer theirs with maple syrup.  Honey tastes great with them as well.  


Image


I found these four ears of our mirai sweet corn sitting on the counter.  If you look closely, you can see that the kernels are becoming dimpled, and the ears don’t look as appetizing as a fresh one.  We weren’t going to be eating them, so it was either make fritters or send them to the compost.  I chose fritters for lunch… 

Image


(Makes about 8 fritters, depending on size)

Ingredients: 

  • 4 ears sweet corn
  • 2 eggs
  • 2 tablespoons whole wheat or all purpose flour
  • 1/4 teaspoon salt
  • canola oil

Image


Directions:

  1. Scrape the kernels off the ears into a large bowl. 
  2. Add the two eggs and stir with a fork.  The kernels will clog a whisk. 
  3. Sprinkle the two tablespoons flour and 1/4 teaspoon salt over the mixture and stir together. 
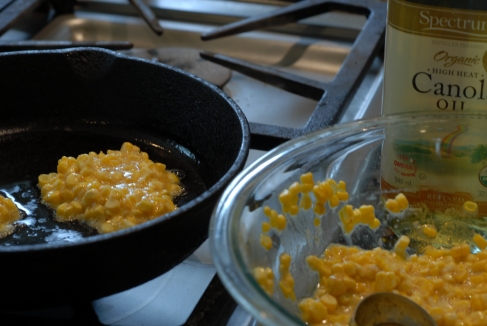
  4. Put a medium heavy bottom sauté pan or cast iron skillet over medium high heat, and pour in enough canola oil to cover the bottom of the pan.  
  5. After the oil has heated a few minutes, add a spoonful or small ladleful of batter.  The amount you add depends on how large you want the fritters to be.  
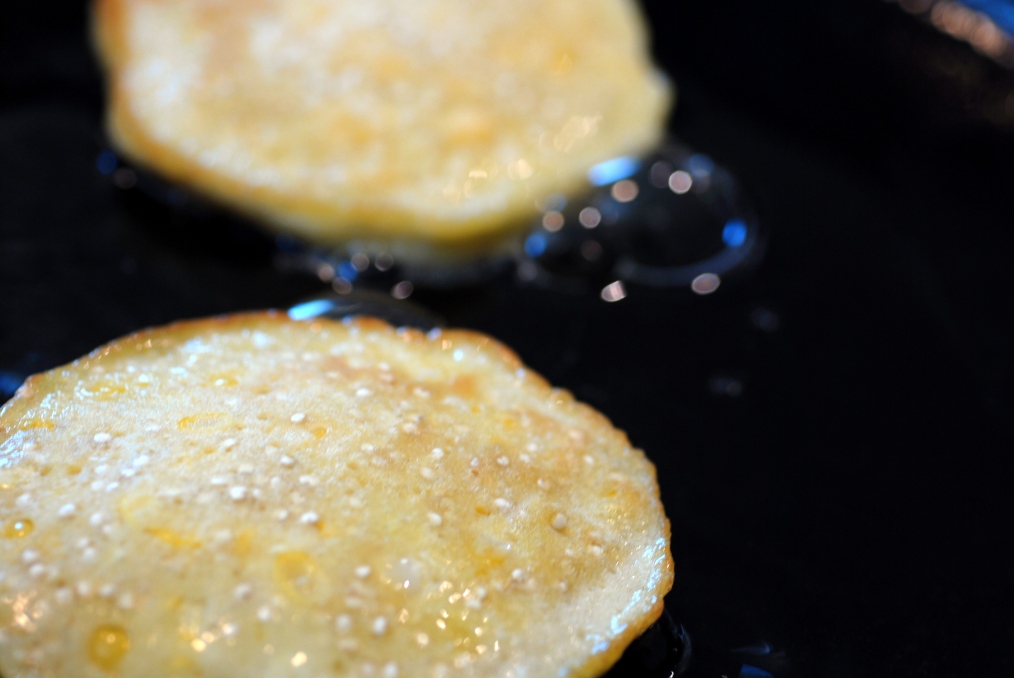
  6. Allow the fritters to cook on one side, until the bottom has set, and then use a spatula to flip each fritter.  
  7. Remove the fritters when they are golden and cooked through.  
  8. Enjoy!
Note:  My mom generally foregoes adding the flour – the lack of flour makes the fritters more tender and allows them to spread out more.  However, they will be more likely to fall apart. 


A Super Simple Midsummer Salad

Image

Although I love the heat of the summer, I find that it discourages me from standing over the stovetop to make my lunch, so I must resort to other tactics for feeding myself.  This simple salad can include whatever vegetables you may have, and it requires very little effort.  I love how light and refreshing the salad feels on a hot, summer’s day, and I find it to be an extremely flexible dish in that I can always add other vegetables or even herbs. 


Image

Ingredients:

  • 1 tablespoon extra virgin olive oil
  • 1 tablespoon balsamic vinegar
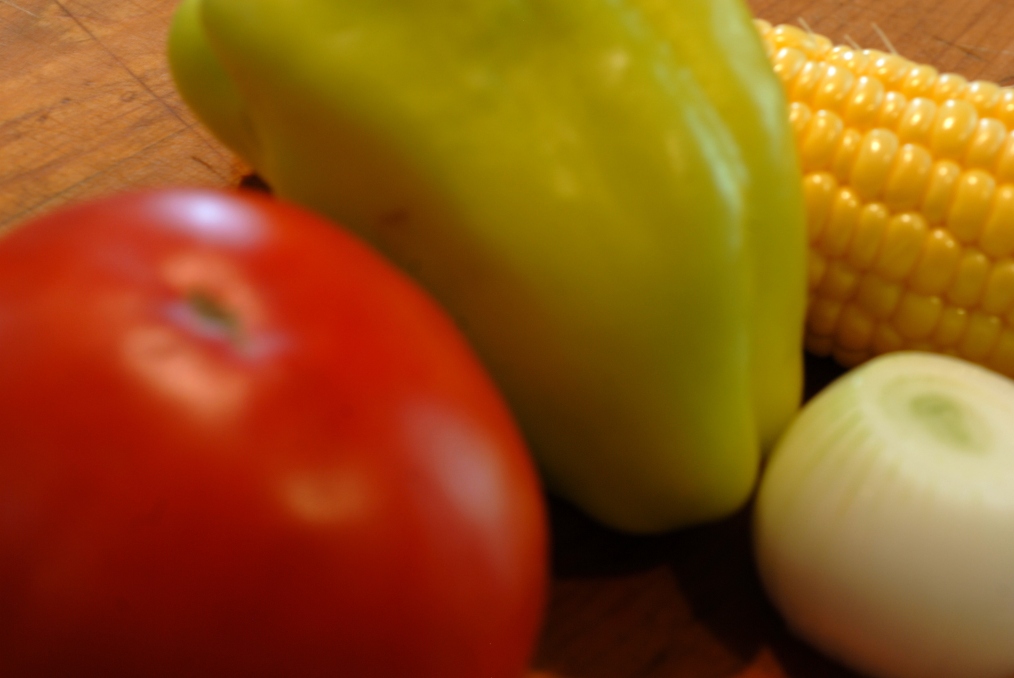
  • 1 small-medium onion
  • 1 medium tomato
  • 1 ear corn
  • 1 sweet pepper


Directions:

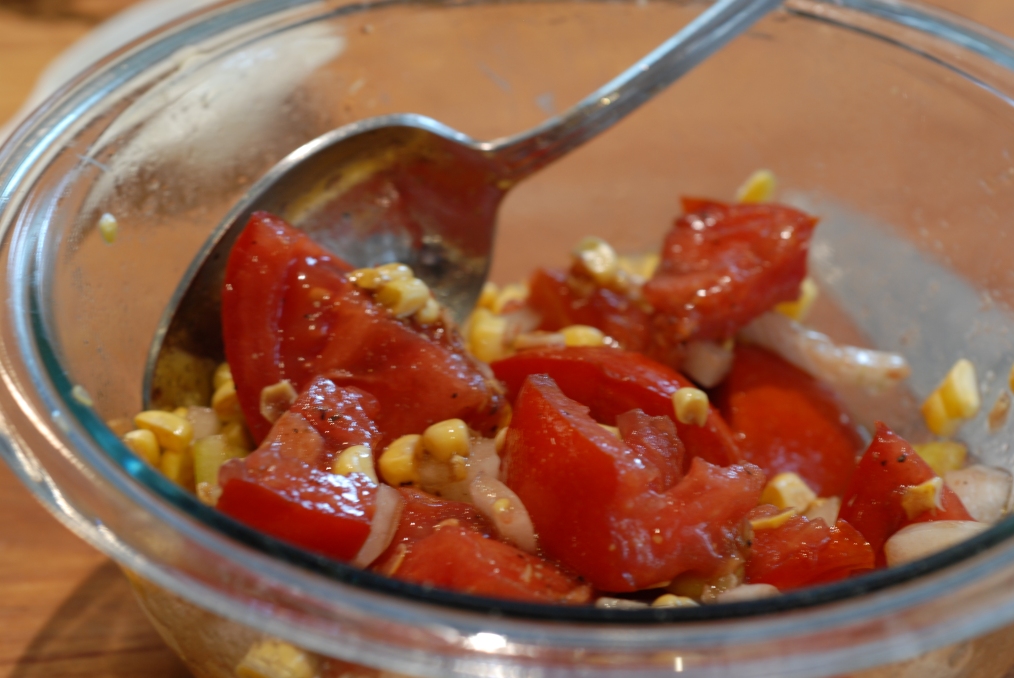
  1. Dice the onion, tomato, and pepper, and place in a bowl.
  2. Scrape the corn into the same bowl.
  3. Pour olive oil and balsamic vinegar over the vegetables.
  4. Toss and add black pepper to taste.
  5. Enjoy! 
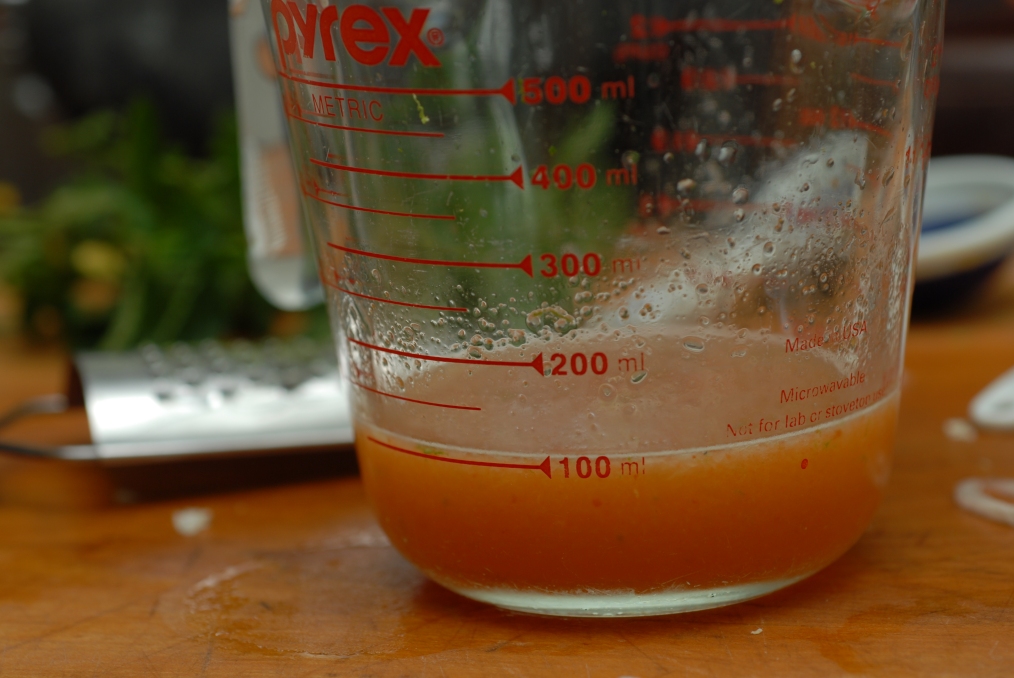
 

If you want some extra flavor, consider adding basil as well.

Creamy Corn and Coconut Curry with Tasty Thai Basil

Every time I see our home herb garden or the one at Charlestown Farm, I am astounded by the variety of plants.  Some herbs I know well, like mint and rosemary, but others are less familiar and present exciting possibilities.  One specific herb is Thai basil, which my mother loves.  This delicate plant, with purple flowers and thin, smooth leaves, barely resembles its more common relative, Genovese basil, and has a distinctive flavor that cannot be duplicated.  Thai basil is crucial to this coconut curry and a great herb that calls for discovery.

Creamy Corn and Coconut Curry with Tasty Thai Basil (Serves 2)

Ingredients:

  • 2 ears corn (I used older ears of our sweet Mirai corn)
  • 1 medium onion
  • 1 sweet pepper
  • 1 good-sized handful green beans
  • 1 bunch Thai basil (I used a small bunch – about 8 leaves)
  • canola oil
  • 1 can lite coconut milk

Directions:

  1. Husk the corn, remove the silk, and cut or scrape off the kernels.
  2. Peel the onion, cut in have, and slice lengthwise.
  3. Slice the sweet pepper in half, remove the seeds, slice lengthwise and then once along the width.
  4. Snap the green beans.
  5. Set a large sauté pan over medium to high heat and add some lugs of canola oil. – enough to barely cover the bottom of the pan.
  6. If you like heat, add a sprinkle of crushed red pepper flakes as the oil heats.
  7. Add the onion and sauté a few minutes or until it begins to soften.
  8. Add the beans and pepper and continue to sauté another 3 minutes, until all the vegetables are softening but not mushy.
  9. Pour in the corn and stir in with other vegetables.
  10. After a few minutes, pour in the lite coconut milk. (I used about 1/3 of a 13.6 oz can. However, I was eating the curry alone and thus wanted it to be thicker.  If you want to eat the curry with rice, you should add more milk, if not the entire can.)
  11. As the curry begins to bubble over high heat, strip the Thai basil leaves from the stems and throw in.  If you do not want to use whole leaves, feel free to coarsely chop them.  However, wait to chop the leaves until the last possible moment because you will lose their full flavor if you leave them chopped for too long.
  12. Continue to cook until the curry reaches the consistency you prefer, and serve.  Enjoy!
A few notes:  This dish will need salt, and you could certainly add some garnishes.  I added some peanuts and sriracha to mine.

Very Versatile Corn Fritters

Image


Seeing as we’re at the beginning of the corn season and don’t have quite enough ears for all my family members, I’ve been looking for different ways to use our limited supply and give everyone a taste of our favorite summer food.  While my best memories of corn involve eating it on the cob, I do fondly remember the corn fritters my mom made in the summers as a Sunday morning treat.  The beauty of fritters is that they retain the taste and crunch of the original kernel, they are easy and quick to make, and they can be savory or sweet.  

Here is a recipe for corn and quinoa fritters.  The quinoa adds some extra texture and nutrients while giving the fritters more staying power (by more staying power I mean that they help your stomach stave off hunger a bit longer).  

Image

Ingredients:

  • 2 ears of sweet corn – I used our yellow Mirai.
  • 1/4 cup quinoa
  • 1/4 cup flour
  • 1 teaspoon baking powder
  • pinch of salt
  • 1/4 cup milk
  • 2 eggs
  • 1 tablespoon extra virgin olive oil 

Image


Image

Directions:

  1. Scrape the corn into a large bowl.  I used a medium serrated knife to cut off the kernels, being careful to avoid cutting into the cob.  If you have a corn scraper, that works just as well.  
  2. Mix the quinoa, flour, baking powder, and salt in with the scraped corn. 
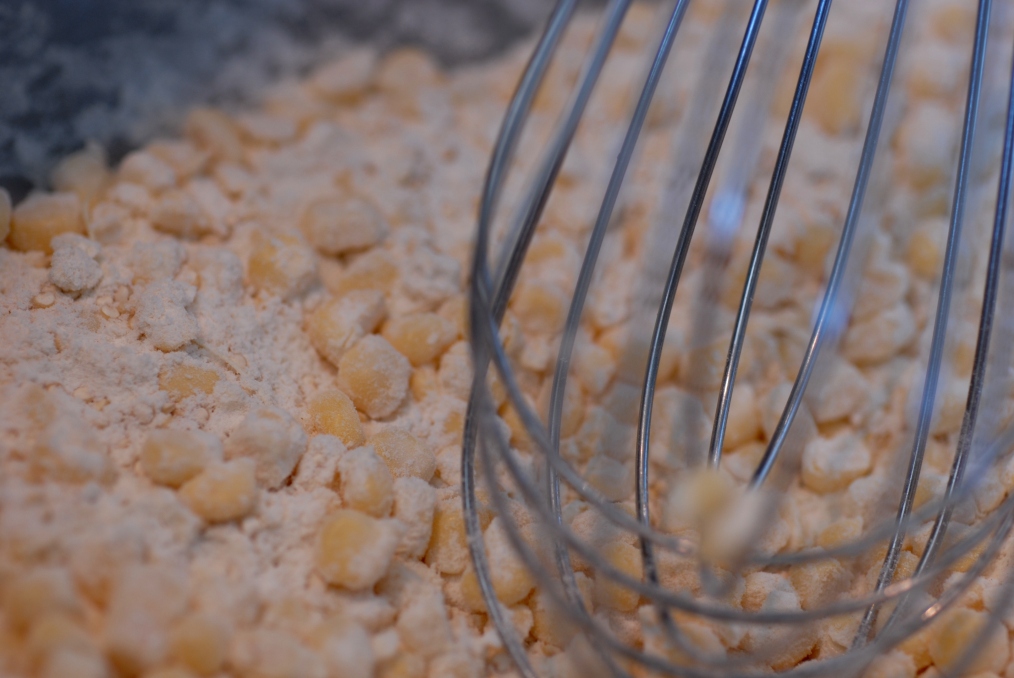
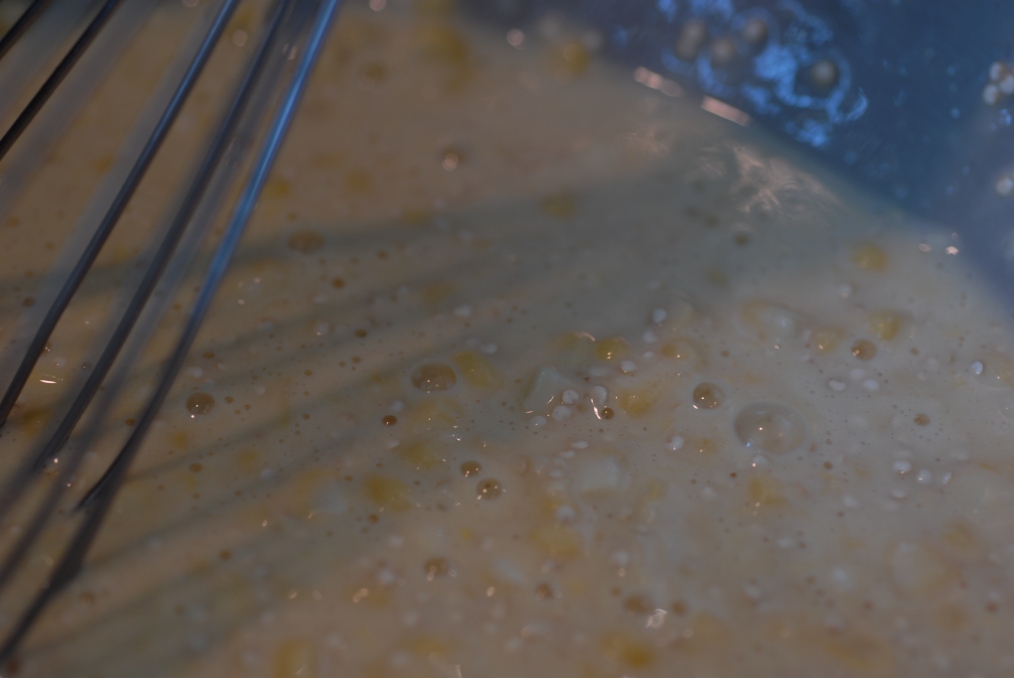
  3. Add the eggs, milk, and olive oil, and stir until well combined. 
  4. Place a heavy bottomed skillet on high heat and add a few lugs of cooking oil.  I used extra virgin olive oil, but canola oil would work just as well. 
  5. Test the oil by adding a small drip of batter.  When the batter begins to bubble and sizzle, scoop out about a 1/4 cup of the batter and pour into the oil. 
  6. Cook for a few minutes before flipping.  At this point, the bottom should be set, although the top is still liquid, making the fritters easy to flip.
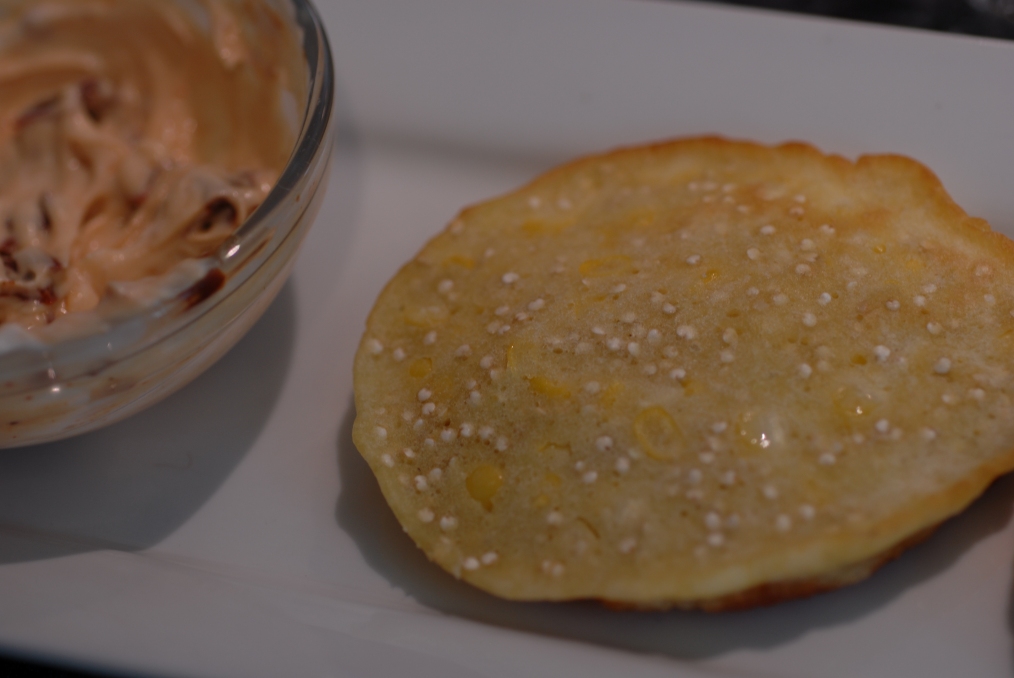
  7. Continue to cook until both sides are deep golden in color (They should be a bit darker than those in my pictures.  I was a bit too excited to try the first batch…).  Before removing, check one fritter by tipping the corner of a metal spatula into the center of the top crust, just enough to break the surface.  If the center is still liquid, keep the fritters on the heat until they are cooked through.  
  8. Remove the fritters from the heat and place on paper towels to remove excess oil.
  9. Remember to add more oil before cooking more fritters.
  10. Enjoy!
Image

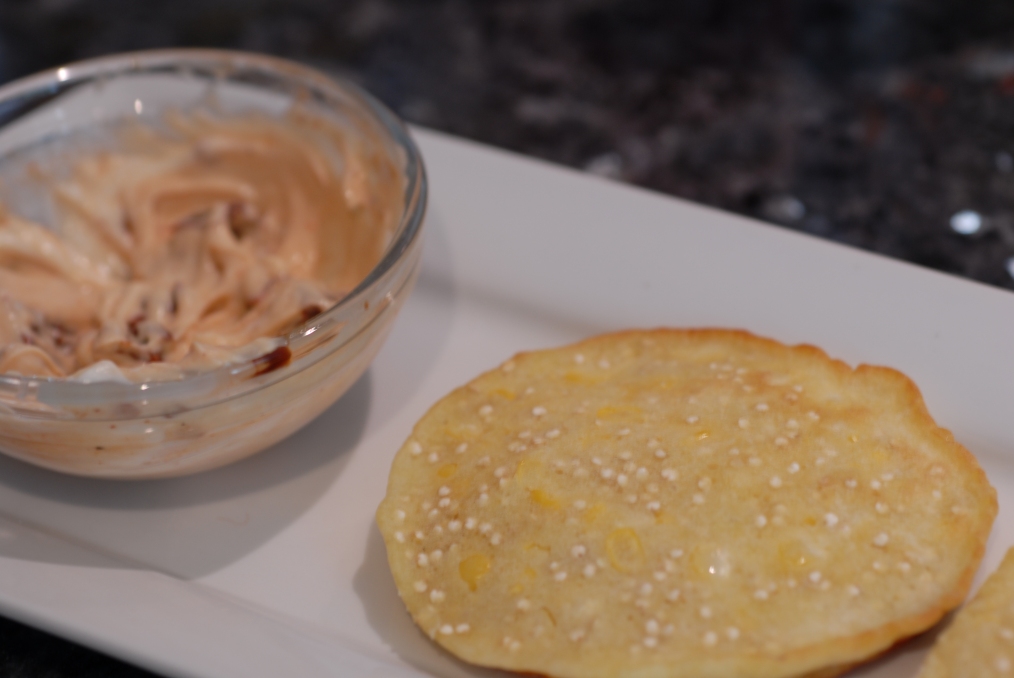
After making the fritters, you may be wondering how best to eat them.  For lunch, I decided to try them with both savory and sweet toppings.  I dipped the first few in a quick and tasty chipotle and mayonnaise sauce, and I spread the final ones with honey.  

For the sauce, I finely chopped a chipotle pepper in adobo sauce and mixed it with about 2 tablespoons of mayonnaise.  Add more or less mayo depending on how much spice you want to experience.  If you’re wondering what the heck a chipotle pepper might be, it’s a smoked chili pepper.  I use these, but I’m sure any will work just fine.  They are full of flavor.  

Image


A few final thoughts on fritters.  My mother’s are simpler and involve two eggs, some flour, and milk. I will post those soon.  

Also, consider adding spices or other extra ingredients to these fritters.  This recipe could act as your base as you experiment.  I have seen some fritters with cheddar cheese and others with smoked paprika.  Maybe you could throw in some extra vegetables, like onions and peppers.  You could add vanilla and extra flour to substitute for the quinoa.  The sauce could be something like lemon curd or ice cream for a dessert.  These fritters can be whatever you want while allowing you to make the most of the early corn.  Have fun experimenting!  

A Veggie Filled and Filling Lunch

Image

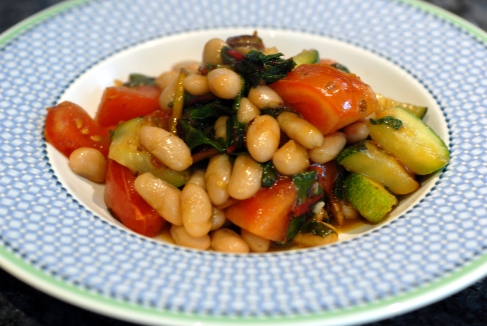
While searching for leftovers to have for lunch today, I decided to use our remaining vegetables instead and make space in the fridge for this week’s share.  I discovered half a large zucchini, some rainbow chard, and a medium tomato, as well as a half-filled 15oz can of cannellini beans. Using these simple ingredients, I managed to create a dish that allowed me to stay out of the kitchen until dinner.    

Image


I don’t have a name for this dish, but I would describe it as “cannellini beans with vegetables.”  It is pretty simple and easy to prepare and tastes delicious.  


Ingredients:

  • 2 tablespoons olive oil (I love using extra virgin for the rich flavor.  There is no caloric difference between light olive oil and extra virgin, only one in taste.)
  • 1/8 teaspoon crushed red pepper flakes if you want some heat
  • 1-2 cloves garlic
  • 1 small-medium zucchini or 1/2 a large one
  • 1 medium tomato
  • 5 medium rainbow kale leaves – you could also use chard or regular kale

Image

Directions:

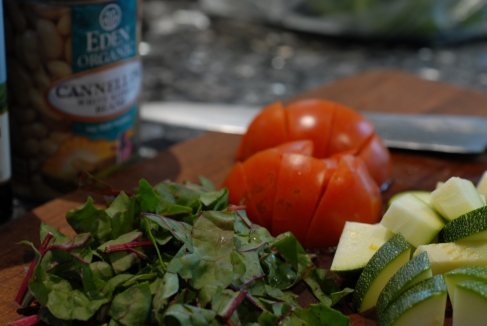
  1. Peel and slice the garlic, de-stem and slice the tomato into whatever size pieces you like, coarsely chop the kale, slice the zucchini into quarters lengthwise and cut into chunks/slices.  Drain the cannellini beans.  
  2. Pour 2 tbsp oil into medium sauté pan over medium-high heat and add 1/8 tsp pepper flakes.  
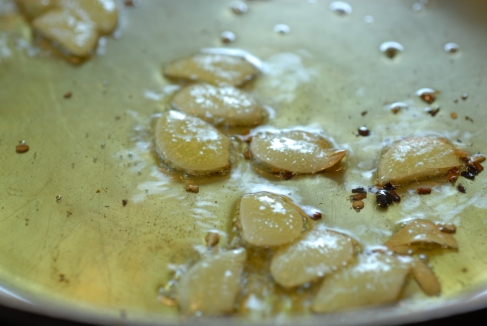
  3. When oil has heated a minute or two, add the sliced garlic and sauté until slices begin to soften. 

Image

       4.  Add the zucchini and continue to cook over medium high heat until zucchini are softening.

       5.  Add the kale, cook about 1 minute, and add the tomato. 

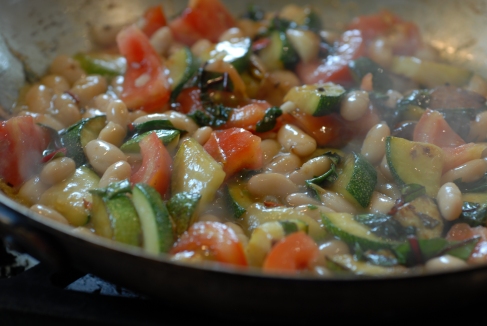
       6.  Stir the vegetables and add the beans.  

Image

      7.  There will be steam as the juices begin to cook off.  Continue cooking until the dish reaches a consistency you like. 

     8.  Taste and add salt as needed.  Feel free to sprinkle with parmesan.  You could also add rosemary! 


Enjoy! 
 

Cool Cucumber Soup with a Hint of Sweet Summer

Image

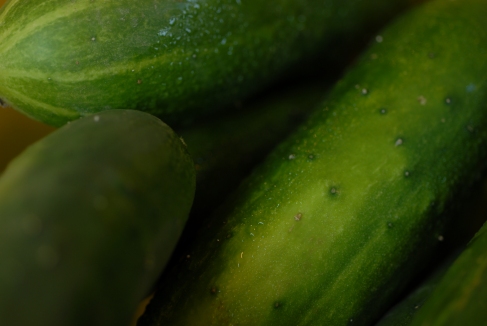
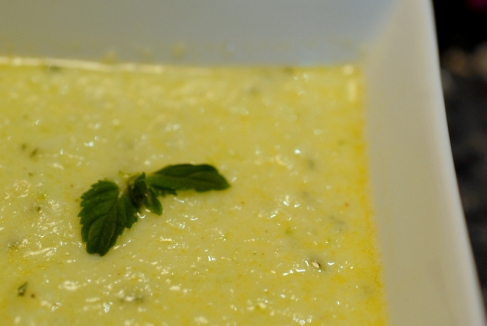
Today, Michelle, our farm manager at Charlestown Farm, told my mom that we have a bumper crop of cucumbers.  Realizing that we would be eating these juicy vegetables for a while, I decided to find a new way to prepare them.  After hearing my sister rave about a cucumber gazpacho she had had this spring, I resolved to make a cool cucumber soup that would take some of the heat off these blistering summer days.  Here is my simple cucumber soup that is a bit sweet and quite refreshing.

This recipe serves 2 at the most, but it’s works perfectly if you double it.  Just make sure it all fits in your blender!

Ingredients:

  • 1 cucumber
  • 1 small clove of garlic
  • 1 bunch mint
  • 1 tablespoon extra virgin olive oil
  • 1 tablespoon rice wine vinegar
  • 1 teaspoon honey
  • ¼ teaspoon salt
  • ¼ cup plain yogurt
  • Salt and fresh ground pepper to taste

Directions:

  1. Peel the cucumber, slice it in half lengthwise, and use a spoon to remove the seeds.
  2. Cut both slices in half and place in blender.
  3. Grate garlic into blender.
  4. Strip the mint leaves, chop coarsely, and add to blender.
  5. Add olive oil, vinegar, honey, salt, and yogurt and blend.
  6. Add salt and pepper to taste.
  7. Enjoy!
Feel free to add more or less of the ingredients, plus some altogether new ones.  I added red pepper flakes to one test and red wine vinegar to another.  You could also add Tabasco sauce for some heat or maple syrup instead of honey.  Just keep tasting it to make sure you like it!

Image

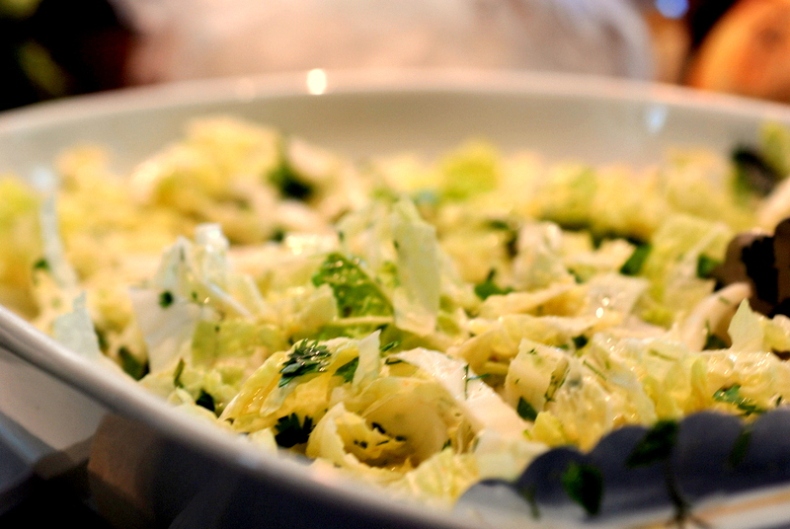
My Mother’s Famous Napa Cabbage Slaw

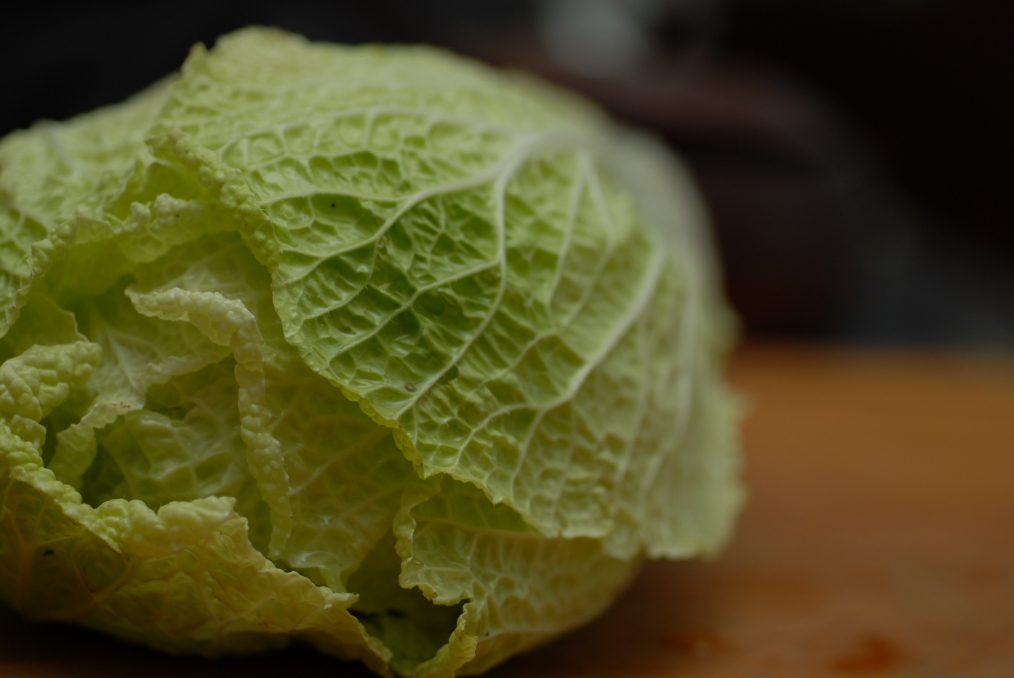
This simple recipe has quickly become a family favorite.  Everyone loves the crunch of the napa cabbage mixed with the heat of the sriracha and the zing of the lime.  It is a great Asian-style dish that we always enjoy.  We never have leftover slaw, or it quickly disappears if we do.

Image

Ingredients:

  • 1 head Napa cabbage
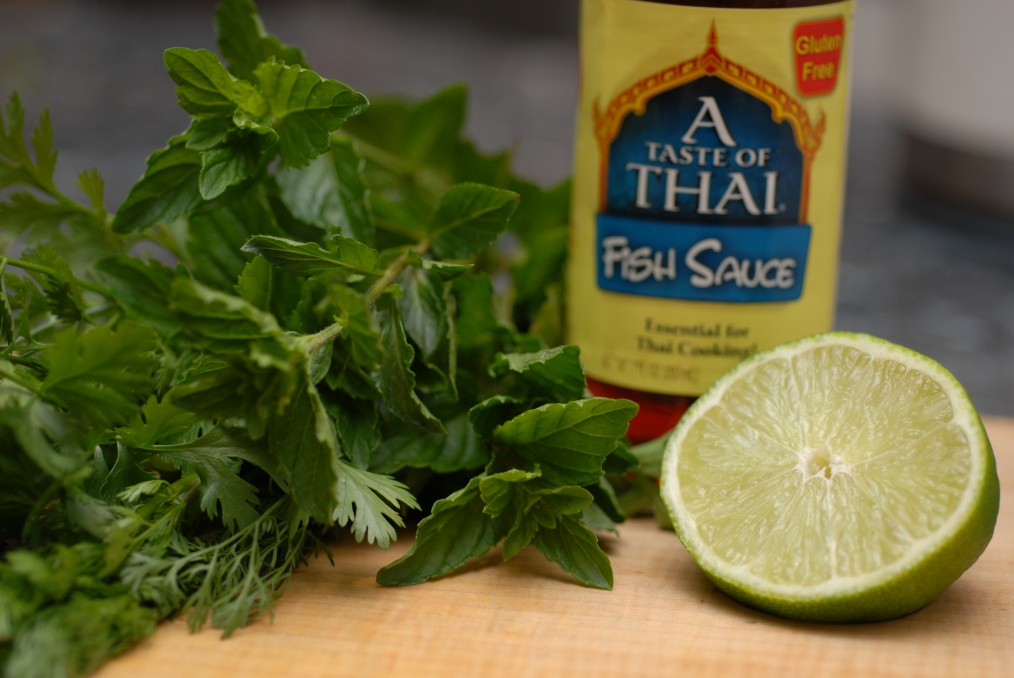
  • 2 tablespoons fish sauce
  • 1/2 – 1 tablespoon sugar
  • 2 limes
  • sriracha
  • salt to taste
  • 1 bunch mint
  • 1 bunch cilantro (unless you are on the hate side of the love-hate relationship with cilantro)
Image
Image

Directions:

  1. Chop the head of cabbage and place in a large serving bowl
  2. Stir together fish sauce and sugar.
  3. Grate the zest of half a lime directly into the dressing (grating the zest straight in ensures that you get the most flavor – when you grate into a measuring spoon, you lose some of the essential oils that give the full lime flavor)
  4. Juice both limes and stir into dressing
  5. If you have sriracha, feel free to add some to give the slaw some heat.   Otherwise, feel free to add some crushed red pepper flakes.  If you’re wondering, “What the heck is sriracha?,” it is a delicious Asian hot chili sauce that has become a staple in our house.  Here is a link to the Amazon site for it.
  6. After stirring the dressing, taste it.  You may want to add some salt and more fish sauce or lime juice.
  7. Strip and chop the mint leaves and mix into the cabbage.
  8. Do the same with the cilantro, unless you don’t like it.  My sister hates cilantro, but still enjoys the slaw with just the mint.
  9. Finally, give the dressing another stir, pour over the slaw, and mix it all together.
  10. Enjoy!

Image

Penne with Chard, Lemon, and Ricotta

Image

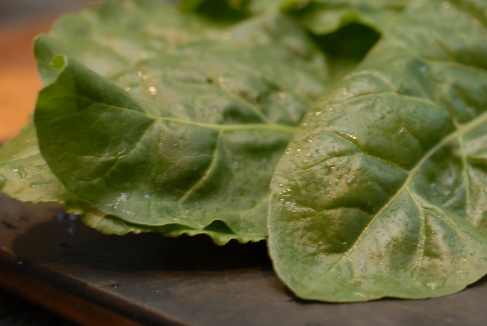
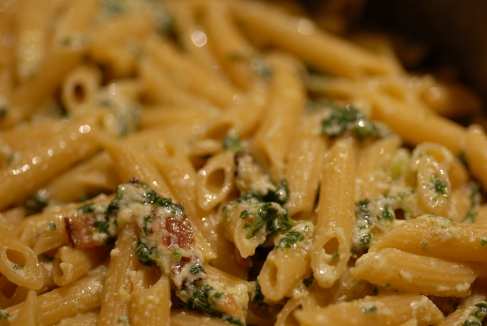
This morning my mother informed me that we needed a new way to eat chard.  I jumped at the challenge and soon found an appetizing recipe called “Swiss Chard and Lemon Ricotta Pasta” on one of my favorite blogs, food52.com.

I followed the recipe pretty closely, but I chose to use penne rather than spaghetti.  I also made the dish a bit healthier by draining the bacon fat and using olive to sauté the shallots.  Finally, we didn’t have shallots, so I substituted with some Charlestown Farm scallions.  I was a bit nervous about using the lemon, but it adds a refreshing touch that gives the pasta a summery feel.  On the whole, the recipe was easy to follow, and the dish tasted great!

Here’s the link to the recipe: http://food52.com/recipes/17723_swiss_chard_and_lemon_ricotta_pasta  …Enjoy!!

Image

Woodfired Pizza with Zucchini Ribbons

When I was 7, my parents took our family on an eye-opening visit to Italy.  Although I barely remember the experience, I can see the impact it had on my parents.  Every Friday night, we fire up our wood burning pizza oven (or our kitchen oven if it’s too cold outside), and we gather with our grandparents to recreate the pizza we had years ago.  We use simple and few ingredients to create a thin crust pizza that is irresistible.

This past Tuesday, my family and I made pizza in the cob oven at Charlestown Farm with some of our members.  We had a great time cooking outside in the warm evening air and breathing in the scent of cooking pizza.

For the Dough:

Ingredients:

1 cup all-purpose flour + extra

1 teaspoon or packet yeast

1 teaspoon salt

1 cup cold water

Directions:

  • Mix the flour, salt, and yeast in a large bowl.
  • Pour in the water and stir with a wooden spoon
  • As the flour becomes saturated with water, start adding in more flour (about a ¼ cup at a time)
  • When the dough starts to thicken, begin using your hands to work the flour in
  • Your dough is finished when it holds together nicely and bounces back if you push it with your finger
  • If you want, you can create a partially whole wheat dough using 1/2 cup whole wheat flour in place of 1/2 cup all-purpose flour at the beginning. I would advise avoiding an all whole wheat dough because it tends to become  too hard in the oven.

For the Pizza:

Ingredients:

  • Extra Virgin Olive Oil
  • Salt
  • Tomato sauce – we use Bionaturae Organic strained tomatoes, which have no herbs or other added flavors
  • Mozzarella cheese
  • Toppings – zucchini, summer squash, blanched kohlrabi greens

Directions:

  • Sprinkle some flour in your workplace
  • Grab a small handful of dough and begin flattening with your hands
  • Place dough on flour and begin to roll thin (if you don’t have a rolling pin, you can use a wine bottle or other glass bottle)
  • When the dough is ready, slide it onto a pizza peel, with extra flour below to make sure it doesn’t stick to the peel
  • Add olive and spread, sprinkle with salt, and add and spread tomato sauce
  • Grate cheese and sprinkle on
  • Peel a zucchini or squash and continue peeling to create thin slices or ribbons
  • Lay the ribbons on the cheese and cook (if you are using your kitchen oven, you will need a pizza stone and to use the oven at the highest possible temperature before it reaches broil.  This will be about 450 degrees.)
  • If you want to use the kohlrabi greens, prepare them beforehand by de-stemming, coarsely chopping, and blanching for about 5 minutes, or until you deem them soft enough.  Strain and douse in cold water before using